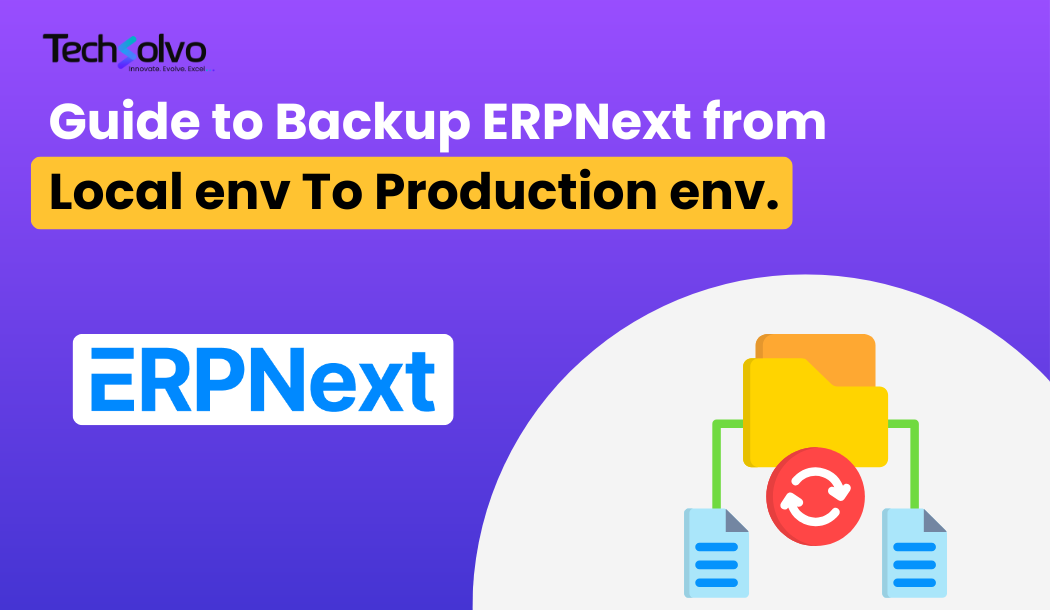
Migrating ERPNext from a local development environment to a production server requires careful steps to ensure all data, configurations, and files transfer smoothly. This guide walks you through the process of taking a local backup, transferring it to a production server, and restoring it.
Step 1: Run Migrate Command on Local
Before creating a backup, ensure all database migrations are up to date by running the following command in your local environment:
bench --site [site-name] migrate
Replace [site-name] with the name of your ERPNext site.
Step 2: Take a Backup from Local
Once migrations are complete, take a backup of the local site:
bench --site [site-name] backup
This command will save the backup files in the following directory:
/frappe-bench/sites/[site-name]/private/backups/
In this folder, you’ll find two types of backup files:
- Database backup (
.sql.gz) - File backups (
public-files-backup.tgzandprivate-files-backup.tgz)
Step 3: Transfer Backup Files to the Production Server
Use scp (secure copy) to transfer the backup files from your local machine to the production server.
scp /root/path/to/frappe-bench/sites/[site-name]/private/backups/* user@yourserver:/root/path/to/backup/location/
Replace:
/root/path/to/frappe-bench/sites/[site-name]/private/backups/with the path to your local backup directory.user@yourserverwith your production server’s username and IP./root/path/to/backup/location/with the location on your production server where the backup will be stored.
Step 4: Restore the Database on the Production Server
After the files are transferred, restore the database on your production site using:
bench --site [site-name] --force restore /path/to/backup/[backup-file].sql.gz
Replace:
[site-name]with the name of the site on your production server./path/to/backup/[backup-file].sql.gzwith the path to the SQL backup file on the production server.
Note: The --force flag ensures the existing database will be overwritten with the backup.
Step 5: Restore Public and Private Files
Next, extract the public and private file backups to the appropriate folders in your production environment.
Public Files Restore
tar -xvzf /path/to/backup/[public-files-backup].tgz -C /path/to/frappe-bench/sites/[site-name]/public/
Private Files Restore
tar -xvzf /path/to/backup/[private-files-backup].tgz -C /path/to/frappe-bench/sites/[site-name]/private/
Replace [site-name] with your ERPNext site name and adjust the backup file paths accordingly.
Step 6: Run Migrate Command on Production
After restoring the backup, run the migrate command again on the production server to ensure all data and configurations are properly applied:
bench --site [site-name] migrate
Step 7: Restart the Servers
Once migration is complete, restart the production server to apply all changes.
Additional Tips: Copying from Server to Local
In case you need to take a backup from the server to your local machine, use the following scp command format:
scp user@server:/path/to/production/backup/* /local/path/to/store/backup/
Example:
scp erpdev@188.227.57.26:/home/erpdev/frappe-bench/sites/pharmacy/private/backups/* /home/mycomputer/Documents/Pharmacy-Smile/Pharmacy-backend-backup/
Final Thoughts
Migrating ERPNext from a local environment to production can be done seamlessly by following the steps outlined above.
Insights
To properly understand the things that are prevalent in the industries, keeping up-to-date with the news is crucial. Take a look at some of our expertly created blogs, based on full-scale research and statistics on current market conditions.
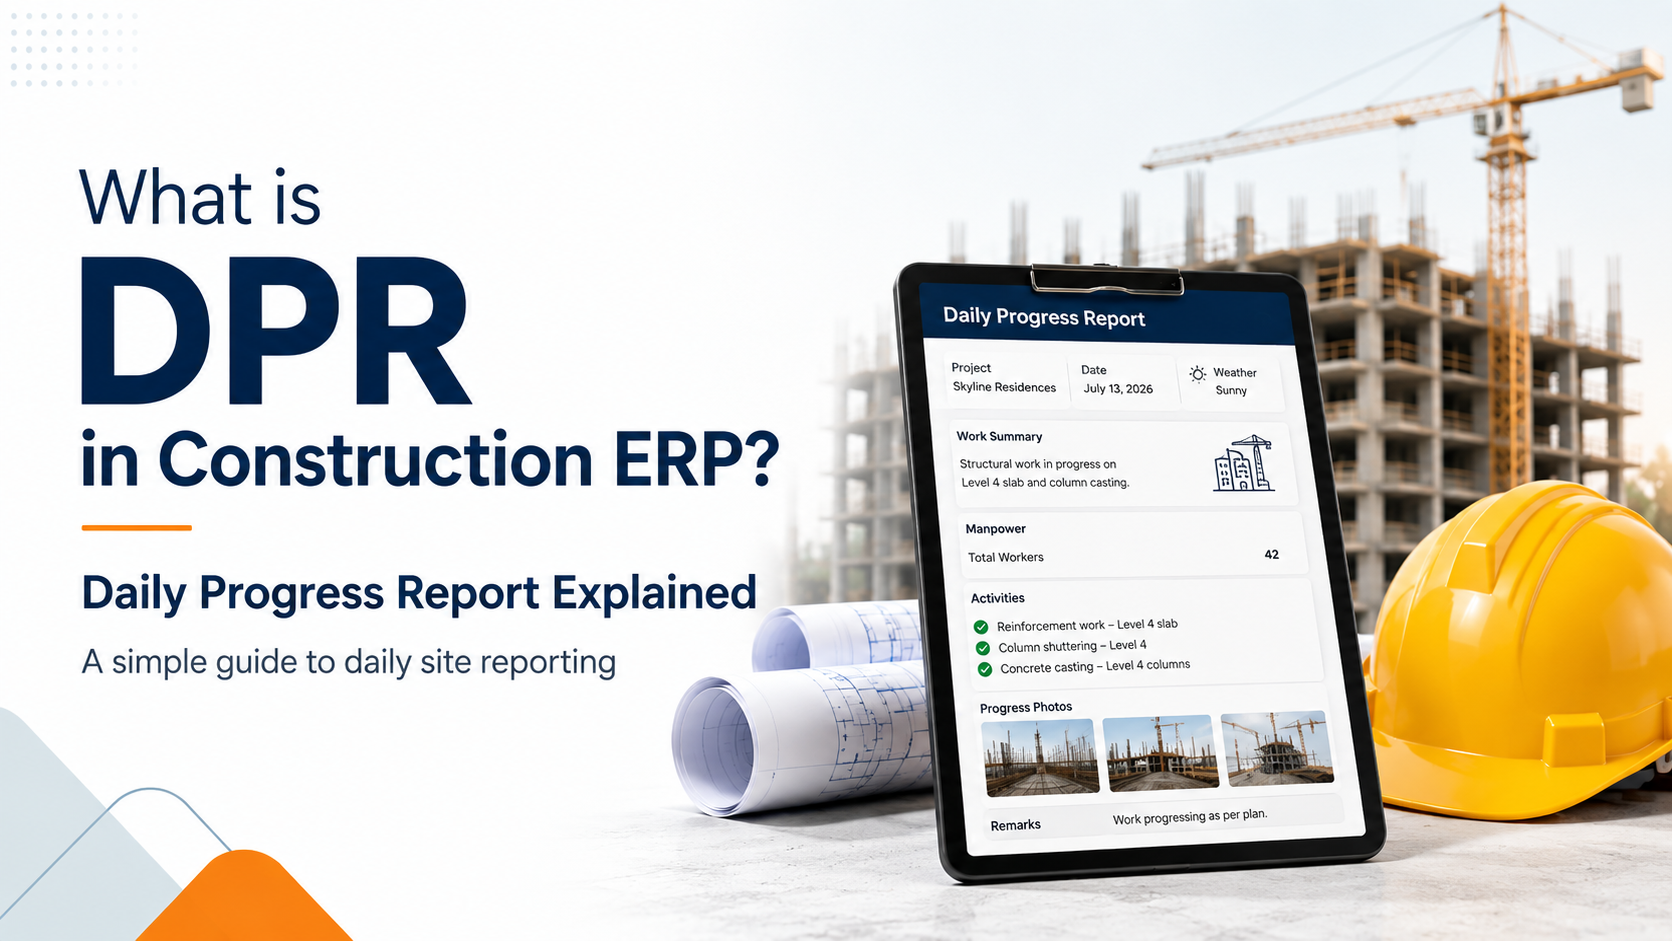
What is DPR in Construction ERP? Daily Progress Report Explained
Learn what DPR means in Construction ERP and how Daily Progress Reports help construction…

Mradul Mishra
July 15, 2026

What is BOQ in Construction ERP?
Learn what BOQ means in Construction ERP and how Bill of Quantities helps manage estimati…
Mradul Mishra
July 15, 2026

What is RA Bill in Construction Management? Complete Guide for Contractors
Learn what RA Bill means in construction management, how Running Account Bills work, and …
Mradul Mishra
July 15, 2026